
Communal staircase handrails: planning and completion checks
A handrail project in a shared entrance can involve more than one straight run. Before work starts, the proposed route, the existing arrangement and the way residents use the staircase all need to be understood clearly.
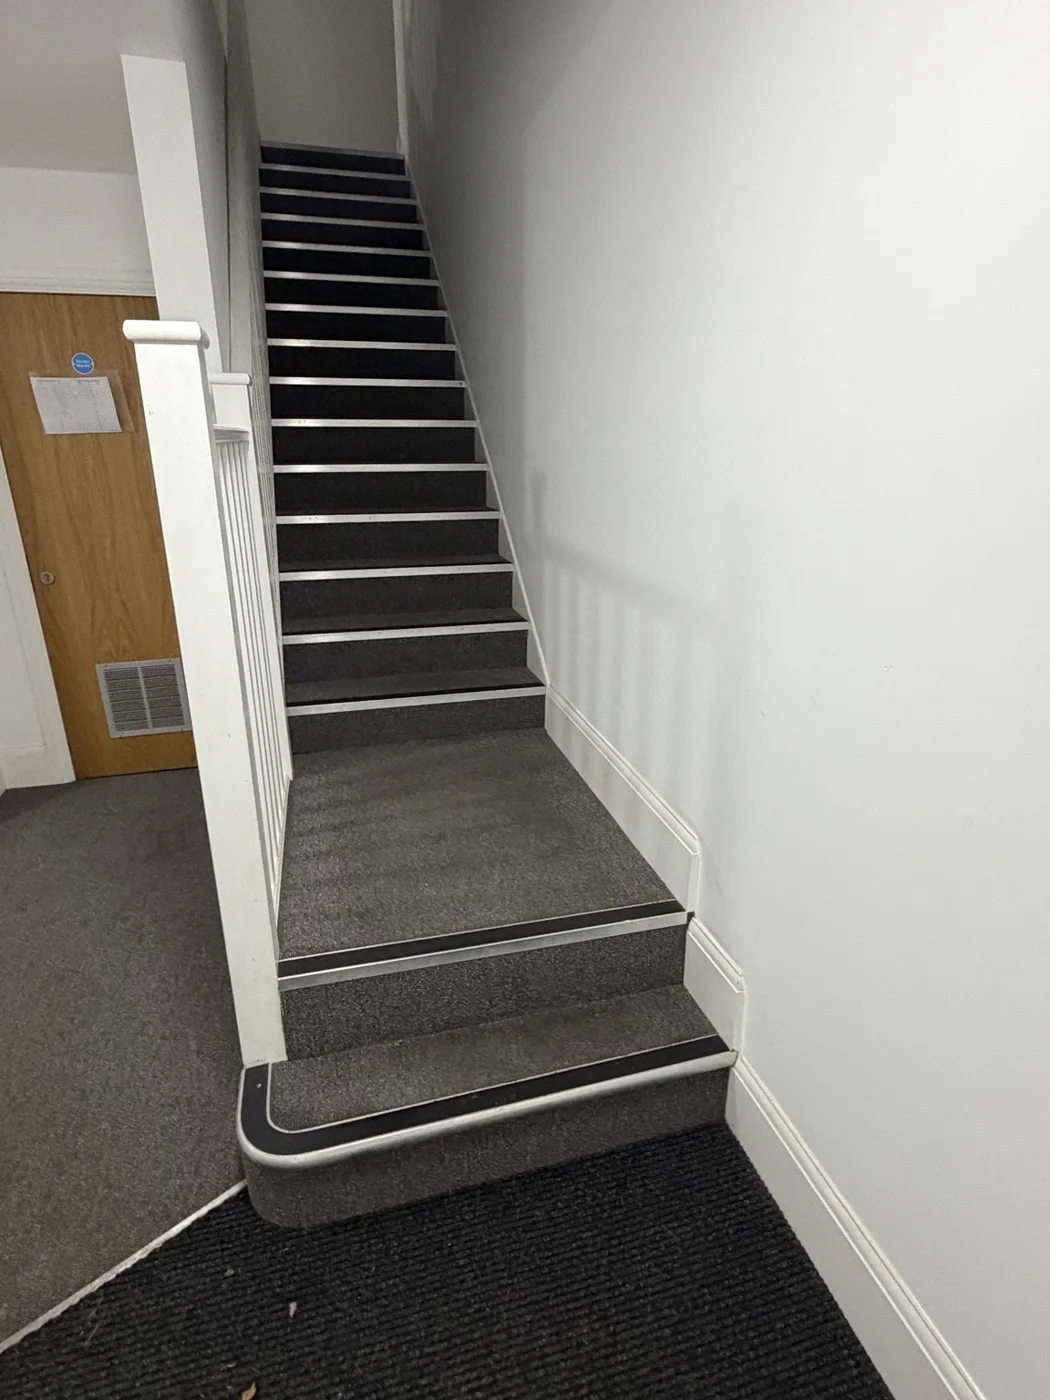
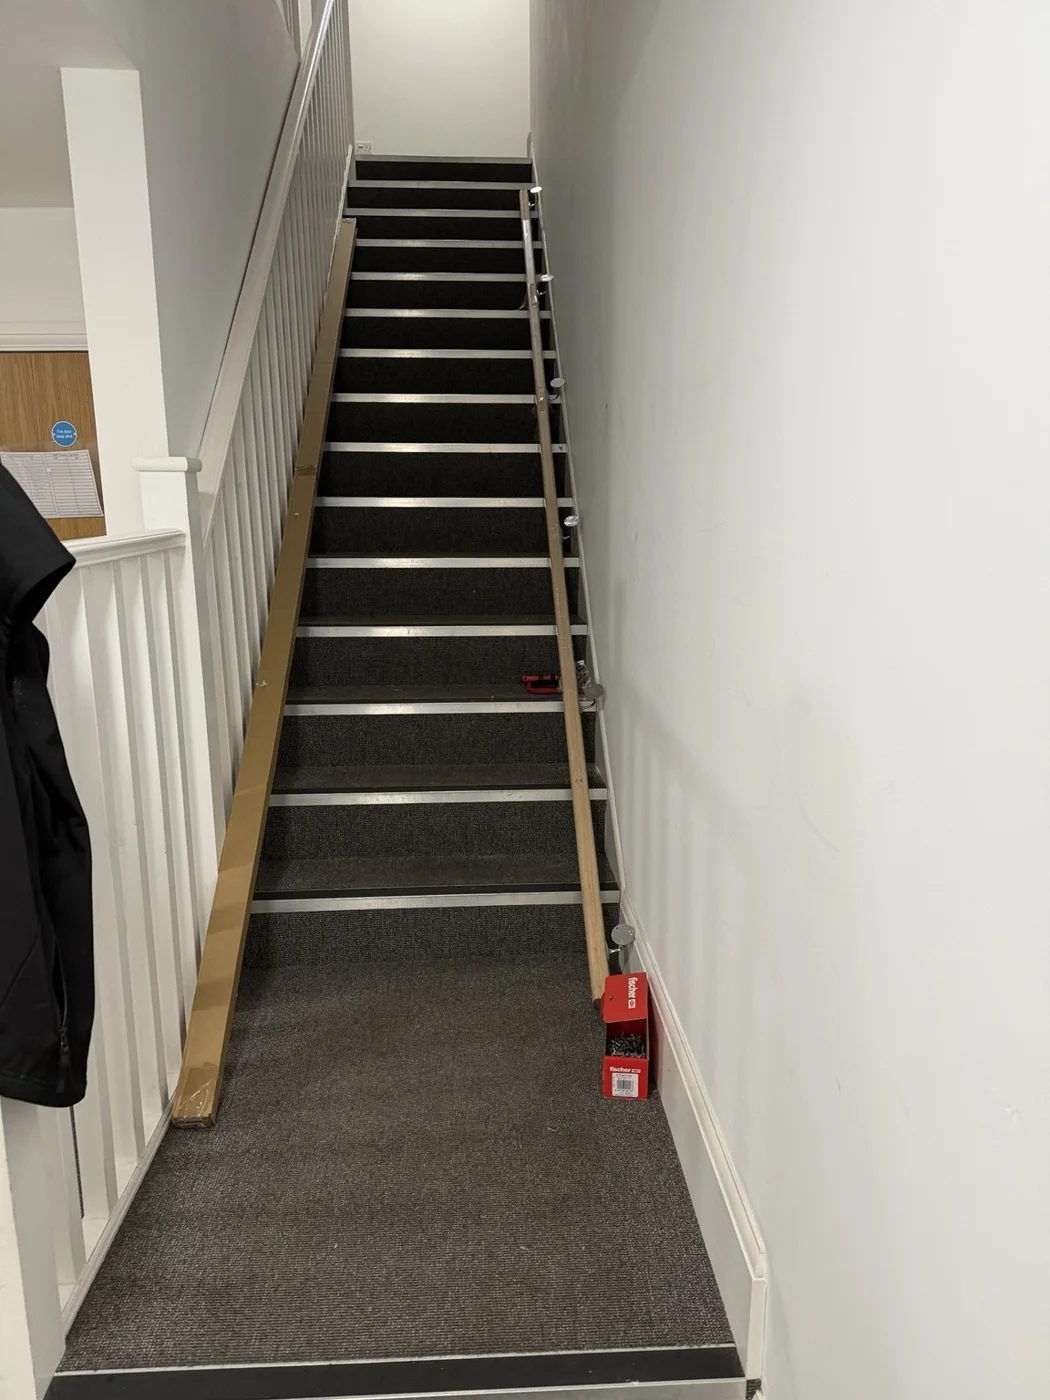
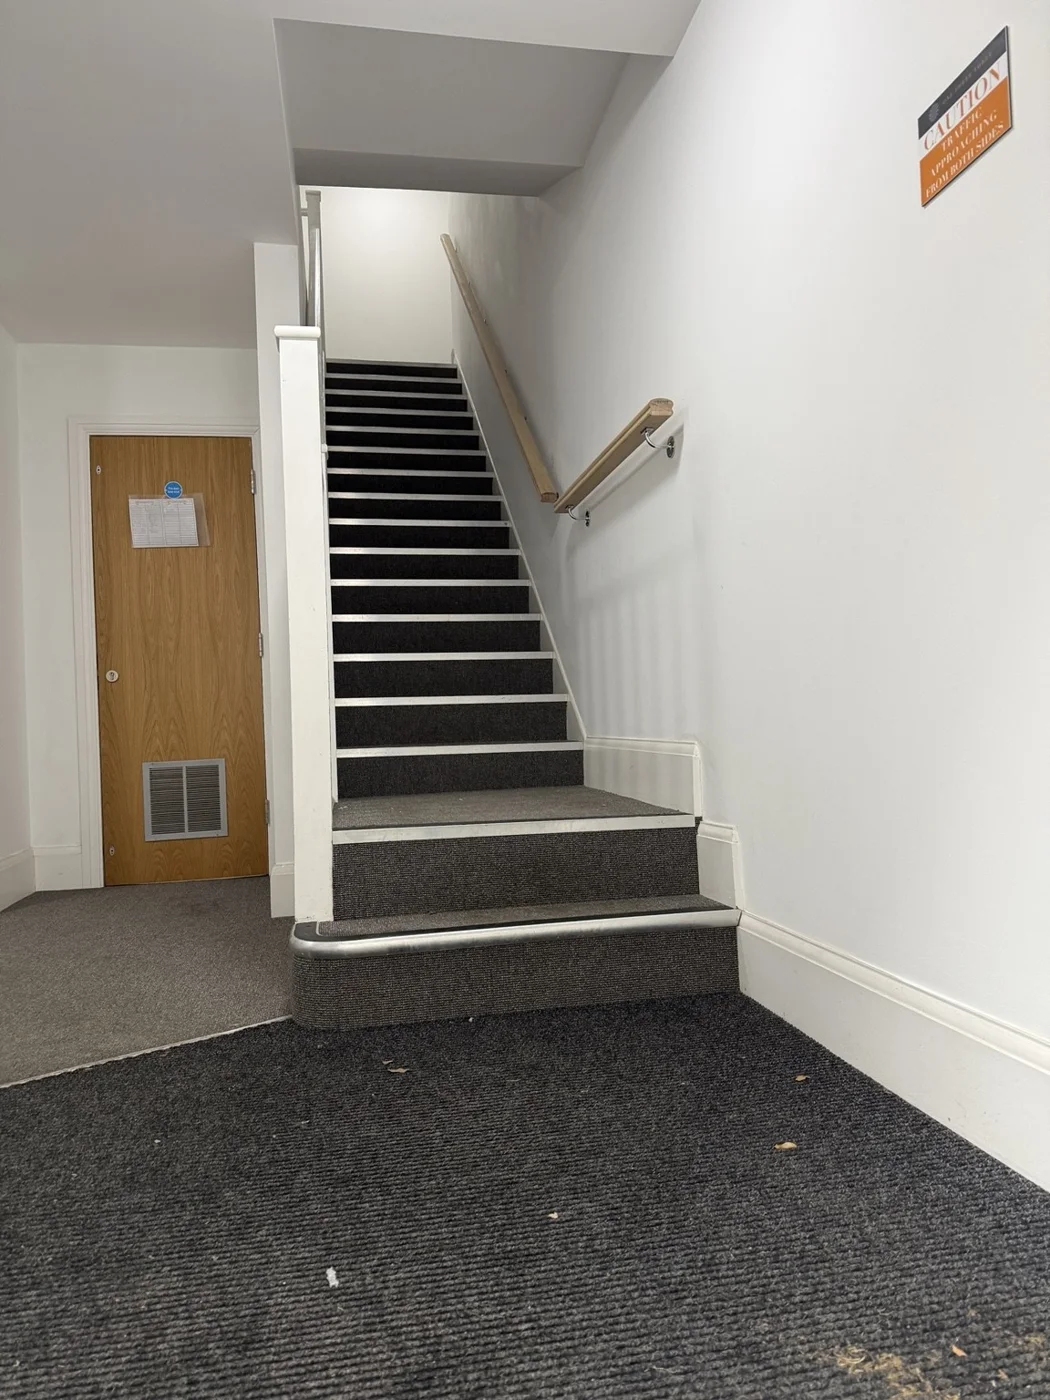
Our completed installation at a managed residential building in Tonbridge provides a practical example. The staircase already had a balustrade and handrail on one side. On the opposite wall, a long timber handrail was fitted beside the main stair flight and a separate shorter section was fitted beside the lower landing and entrance steps. The work was completed on 26 October 2026.
Start by recording the whole route
A single photograph of the main flight may not show every change in level or direction. In this entrance, the main flight and the lower entrance steps required two separate rail sections. Recording both areas before installation made the scope easier to understand.
For a homeowner, landlord or managing agent, useful starting information includes:
- wide photographs showing the full staircase from the entrance and from above;
- the position of any existing balustrade or handrail;
- the wall or walls where the proposed sections are to be fitted;
- landings, returns and entrance steps that may need to be considered separately; and
- any access arrangements that affect work in the shared area.
Describe each section separately
The completed Tonbridge scope was not simply “fit a handrail.” It comprised a long section beside the main stair flight and a shorter lower section beside the landing and entrance steps. Both timber rails were fitted on wall-mounted metal support brackets.
Separating the sections in the written scope helps everyone understand which parts of the route are included. It also avoids a finished job being judged against an assumption that was never part of the instruction.
Plan access and the fitting sequence
A communal staircase remains part of residents’ route through the building. The access plan should therefore be agreed before attendance, including how the work area will be managed while the rails are prepared, positioned and fitted.
The project photographs show the sequence from the original arrangement to preparation, main-rail fitting, the shorter lower section and final cleared views. A staged record is useful because it shows more than the final appearance: it connects the agreed sections with the work that was actually carried out.
Use completion photographs that answer practical questions
A useful completion record should make it possible to see the whole installation, not just a close-up of one bracket. For this project, the record included overall views from the entrance and above, together with closer views of the main rail and its supports.
For managing agents, those photographs can support a straightforward review:
- Are all instructed rail sections visible?
- Can the main flight and lower steps be identified?
- Do the final views show the shared route after tools and packaging were removed?
- Does the written completion note match what the photographs show?
Keep the record within the evidence
This project record confirms the arrangement before work, the timber rails and wall-mounted supports fitted, the two completed sections and the completion date. It does not record dimensions, load testing, certification or an assessment against a particular standard, so those claims are not made here.
That distinction matters. A clear record should state what was proposed and completed without turning photographs into evidence for checks that were not documented.
Discuss maintenance work in a communal area
J & K Building Services Kent Ltd works with homeowners and managing agents across Kent. Photographs of the full route, a short description of the proposed work and any access information provide a useful starting point for discussing the scope.
Discuss your property